Bike pedals are an essential component of any bicycle, as they provide the necessary connection between the rider’s feet and the bike’s drivetrain. With the right tools and a little bit of patience, you can easily install bike pedals on your own and enjoy a smooth, comfortable ride.
In this guide, I’ll walk you through the step-by-step process of installing bike pedals, including the tools you’ll need and the best practices for ensuring a secure and stable installation.
So, if you’re ready to take your cycling skills to the next level, let’s get started!
- Remove old pedals using a pedal wrench or Allen key.
- Clean the pedal threads and apply a small amount of grease.
- Identify the left and right pedals.
- Thread the pedals into the crank arms, turning counterclockwise for the left and clockwise for the right.
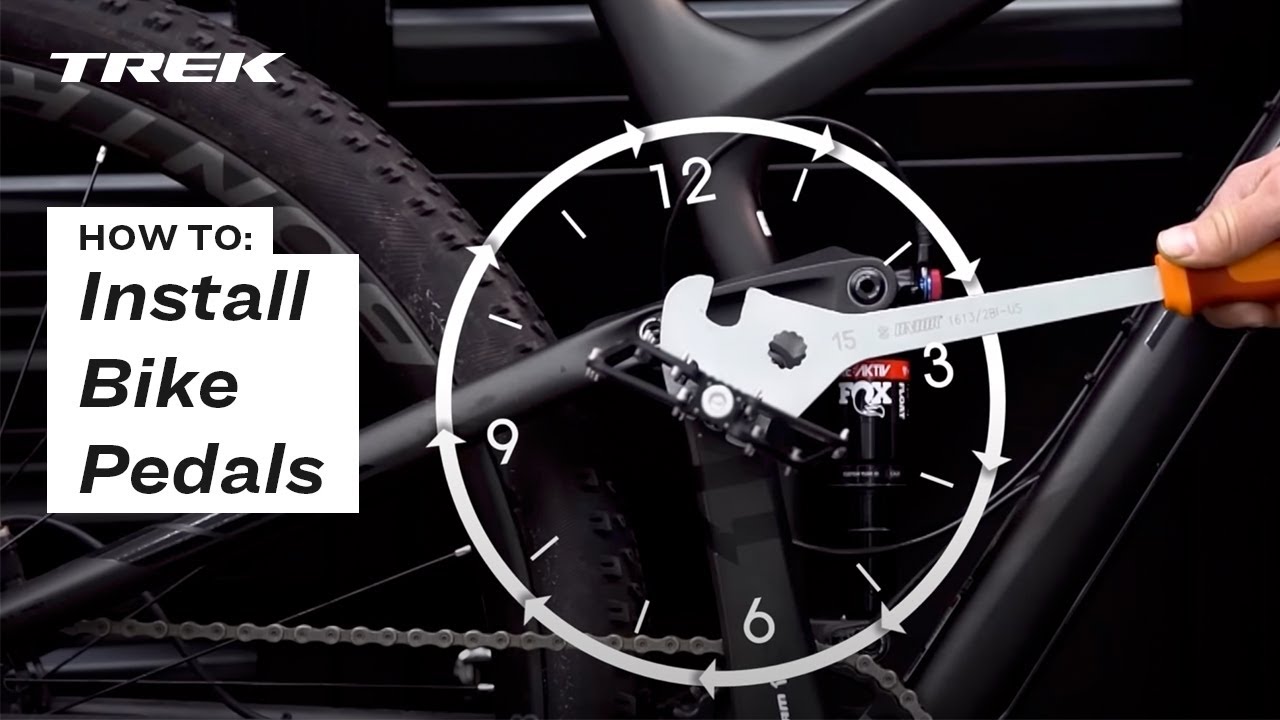
- Use the pedal wrench or Allen key to tighten the pedals securely.
- Double-check the pedals’ tightness and alignment before riding.
Source: ytimg.com
How to Install Bike Pedals – A Step by Step Guide
Bike pedals are an essential part of a bicycle and they determine how efficiently you can pedal. If you are a beginner or a seasoned rider, knowing how to install bike pedals is a crucial skill that can save you money and time. Before diving into the installation process, it’s essential to measure bike pedals to ensure compatibility.
Step 1: Gather the Tools
The first step is to gather the necessary tools. You will need a pedal wrench or a 15mm wrench, grease, and a rag. The pedal wrench is specifically designed to remove and install pedals. You can find this wrench at any bike shop or online store. Grease is used to lubricate the threads of the pedal and prevents them from rusting or getting stuck. A rag is used to wipe off any excess grease.
Tools Required:
- Pedal wrench or 15mm wrench
- Grease
- Rag
Step 2: Remove the Old Pedals
The second step is to remove the old pedals. To do this, you need to turn the pedals counterclockwise. The left pedal is removed by turning it counterclockwise, while the right pedal is removed by turning it clockwise. Use the pedal wrench to loosen the pedals and then remove them by hand.
Important Note:
Remember that the left pedal is reverse threaded, which means it is tightened in a counterclockwise direction. The right pedal is threaded normally, which means it is tightened in a clockwise direction.
Step 3: Prepare the New Pedals
The third step is to prepare the new pedals. Apply a small amount of grease to the threads of each pedal. This will prevent them from rusting and getting stuck in the future. Make sure to wipe off any excess grease with a rag.
Important Note:
Make sure that you have the correct pedals for your bike. Pedals come in different sizes, shapes, and thread types. Check the manufacturer’s specifications or consult a bike mechanic if you are unsure.
Step 4: Install the New Pedals
The fourth step is to install the new pedals. The left pedal is installed by turning it clockwise, while the right pedal is installed by turning it counterclockwise. Use the pedal wrench to tighten the pedals until they are snug. Do not over-tighten the pedals as this can damage the threads.
Important Note:
Make sure that the pedals are installed in the correct position. The left pedal has an “L” marked on it, while the right pedal has an “R” marked on it. The pedals should be installed on the corresponding side of the bike.
Step 5: Test the Pedals
The final step is to test the pedals. Make sure that they are securely fastened and do not wobble. Test the pedals by spinning them with your hands. They should spin freely and smoothly without any grinding or clicking noises.
Important Note:
If you encounter any problems during the installation process, do not hesitate to seek help from a bike mechanic or a knowledgeable friend. Incorrectly installed pedals can cause injury or damage to your bike.
Frequently Asked Questions
If you are looking to install bike pedals, you’ve come to the right place. In this guide, we will cover the most commonly asked questions about how to install bike pedals.
What do I do if my pedals keep coming loose?
If your pedals keep coming loose, it’s likely that they weren’t installed properly. Make sure that you are threading the pedals in the correct direction and that they are tightened securely. You may also want to use a little bit of thread locker on the pedal threads to help keep them in place.
If you’ve checked all of these things and your pedals are still coming loose, it’s possible that the threads on your crank arm are damaged. In this case, you may need to replace the crank arm or have it repaired by a professional bike mechanic.
Can I install clipless pedals myself?
Installing clipless pedals is a little more complicated than installing traditional pedals, but it’s still something that you can do yourself with the right tools and some patience. You will need a pedal wrench or Allen key, as well as a cleat wrench to install the cleats onto your shoes.
Before installing clipless pedals, it’s important to make sure that they are compatible with your shoes. Some pedals and cleats are designed for road cycling, while others are designed for mountain biking. Be sure to choose the right type of pedal and cleat for your riding style.
How To Change Pedals – Remove And Replace Your Bicycle Pedals
Conclusion
In conclusion, installing bike pedals is a straightforward process that can be done with the right tools and knowledge. By following this step-by-step guide, you can save money and time by installing the pedals yourself. Remember to always check the specifications of your bike and the pedals before installation, and to test the pedals before riding. Happy cycling!