Riding a bike is a great way to stay active and get outside, but sometimes things go wrong. One of the most common issues that can arise is a flat tire, which can quickly put a damper on your ride.
If you have a bike with gears, changing a rear tire can seem daunting, but it’s actually a relatively simple process. With a few tools and a little know-how, you can be back on the road in no time.
In this guide, I’ll walk you through the step-by-step process of changing a rear bike tire with gears. I’ll cover everything from removing the wheel to reattaching it, so you can feel confident and prepared the next time you have a flat.
So grab your tools and let’s get started!
Step-by-step tutorial on how to change a rear bike tire with gears:
- Shift gears to the smallest gear on the rear wheel.
- Release the brake and open the quick-release lever on the wheel.
- Remove the wheel by pulling it out of the dropouts.
- Use tire levers to remove the tire from the rim.
- Take out the old tube, check for punctures, and replace if necessary.
- Put the new tube inside the tire and tuck the tire back onto the rim.
- Pump up the tire to the recommended pressure, and check that it is seated properly on the rim.
- Reinstall the wheel by placing it back into the dropouts and tightening the quick-release lever.
- Ensure the brake is working correctly before riding.
How to Change a Rear Bike Tire with Gears
Changing a rear bike tire can seem like a daunting task, especially if your bike has gears.
With a few simple steps, you can easily change your bike tire and get back on the road in no time.
Step 1: Gather Your Tools
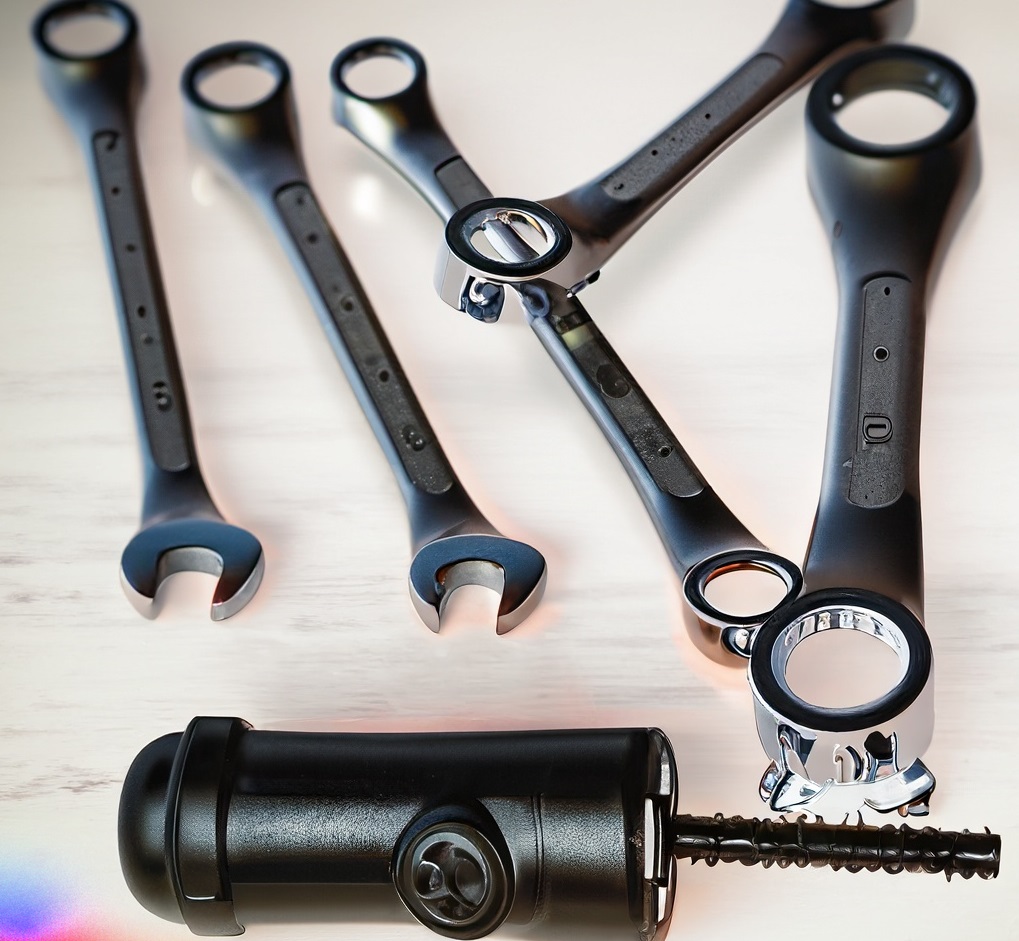
The first step in changing a rear bike tire is to gather your tools. You’ll need a new tire, a set of tire levers, a wrench or allen key to remove the wheel, and a pump to inflate the new tire. It’s also a good idea to have a rag or towel handy to wipe down the wheel and chain.
Once you have your tools, find a flat surface to work on and flip your bike over so that it’s resting on the handlebars and seat.
Step 2: Remove the Wheel
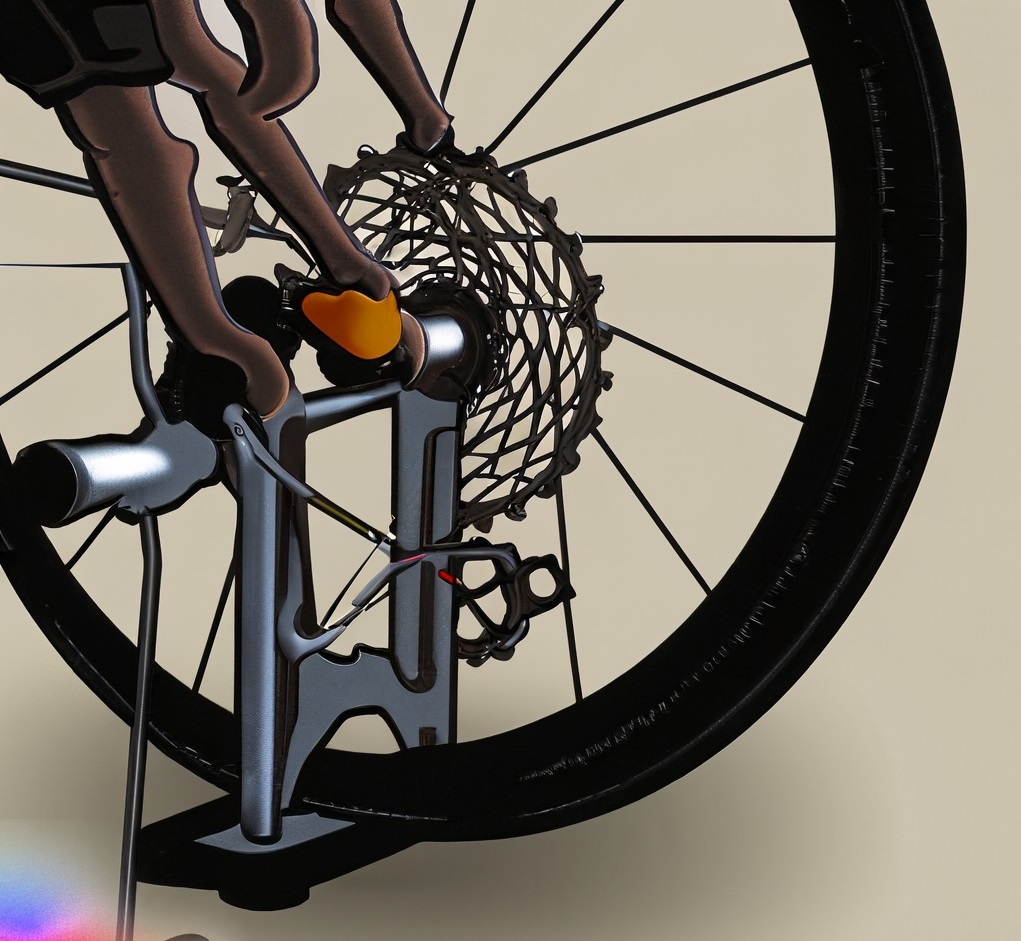
Next, you’ll need to remove the wheel from your bike. If your bike has gears, you’ll need to shift the chain onto the smallest gear in the rear. This will make it easier to remove the wheel.
Using a wrench or allen key, loosen the bolts or quick-release skewer that holds the wheel in place. Once the bolts or skewer are loose, you should be able to lift the wheel off the bike frame.
Step 3: Remove the Tire
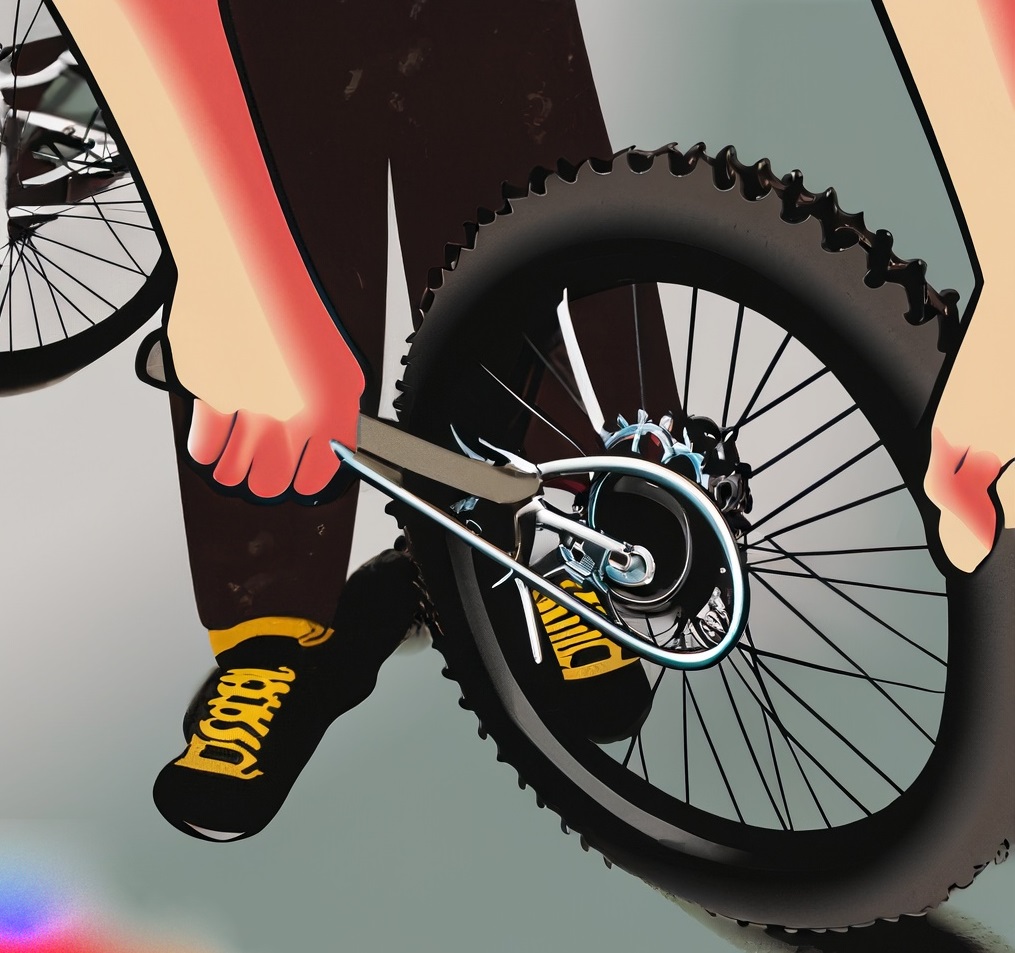
With the wheel removed, it’s time to remove the tire. Starting at the valve stem, use your tire levers to pry the tire away from the rim.
Work your way around the tire, prying it away from the rim on both sides until the tire is completely removed from the rim.
Step 4: Check the Rim Tape
Before installing the new tire, take a moment to check the rim tape that lines the inside of the rim.
If the tape is damaged or worn, it should be replaced to prevent punctures. If the tape is in good condition, you can skip this step.
Step 5: Install the New Tire
Now it’s time to install the new tire. Start by inserting the valve stem into the hole in the rim. Then, working from one side of the tire, use your hands to push the tire onto the rim.
Once one side of the tire is on the rim, use your tire levers to pry the other side of the tire onto the rim. Be sure to work slowly and carefully to avoid pinching the inner tube.
Step 6: Inflate the Tire
With the tire installed, it’s time to inflate it. Check the sidewall of the tire for the recommended tire pressure, and use your pump to inflate the tire to the appropriate pressure.
Step 7: Reinstall the Wheel
With the new tire inflated, it’s time to reinstall the wheel. Start by sliding the wheel back onto the bike frame, making sure that the chain is properly seated on the smallest gear in the rear.
Tighten the bolts or quick-release skewer to hold the wheel in place, being careful not to over-tighten.
Step 8: Check the Brakes
Before you take your bike for a spin, it’s important to check the brakes. Give the brake levers a few squeezes to make sure that the brakes are working properly and that the wheel is centered between the brake pads.
Step 9: Test Ride
Once you’ve checked the brakes, take your bike for a short test ride. Make sure that the tire is properly seated on the rim and that there are no leaks.
Step 10: Enjoy Your Ride!
With your new tire installed and your bike back in working order, it’s time to hit the road and enjoy your ride.
If you’re commuting to work or hitting the trails, a properly inflated tire is essential for a smooth and safe ride.
Frequently Asked Questions
How do I know when it’s time to change my rear bike tire?
You’ll know it’s time to change your rear bike tire when it becomes worn or damaged. Signs of wear include bald spots on the tire or cracks in the rubber. If you notice any of these signs, it’s time to change the tire.
If you’ve experienced multiple flats in a short period of time, it may be a sign that your tire is worn and needs to be replaced.
What’s the difference between a clincher tire and a tubeless tire?
A clincher tire is the most common type of tire on a road bike. It consists of a tire and an inner tube, which is inflated with air. A tubeless tire, on the other hand, does not have an inner tube.
Instead, it has a sealing liquid inside the tire that seals any punctures. Tubeless tires are less prone to punctures and can run at lower pressures, providing a smoother ride.
What should I do if I can’t change my rear bike tire on my own?
If you’re having trouble changing your rear bike tire with gears, don’t hesitate to take it to a bike shop for assistance.
A professional mechanic can help you diagnose any issues and ensure that your tire is properly installed. A bike shop may be able to help you choose the right tire for your riding style and needs.
Conclusion
Changing a rear bike tire with gears may seem like a daunting task, but with the right tools and knowledge, it can be done quickly and easily.
Remember, the more you practice, the easier it will become. So, don’t be afraid to give it a try and enjoy the freedom of riding your bike with a new rear tire.